
Intro
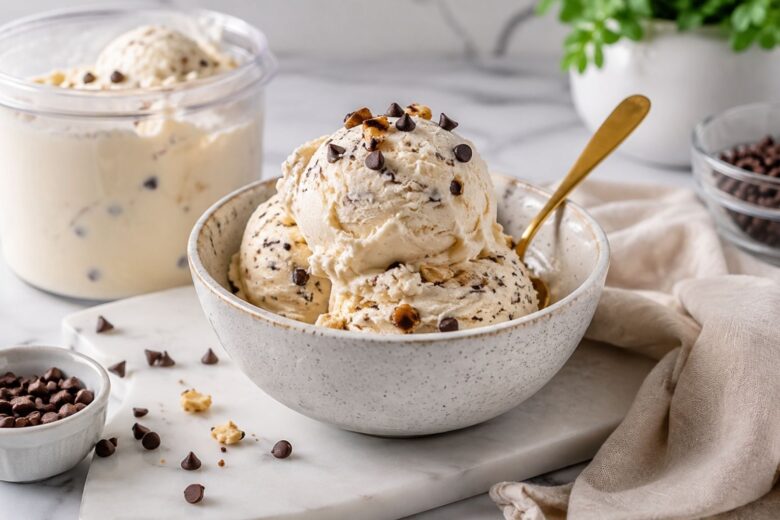
There is something incredibly satisfying about opening the freezer, pulling out a frozen pint, and turning it into a bowl of creamy ice cream in just a few minutes. As a female chef who loves experimenting with recipes that are both delicious and practical, I can honestly say this Ninja Creami Protein Ice Cream Recipe has become one of my favorite ways to enjoy a sweet treat while adding more protein to my day.
Protein ice cream has become popular for a good reason. We all love regular ice cream, but sometimes we want something that feels lighter, more filling, and a little more nourishing. The problem is that many homemade protein ice creams can turn out icy, chalky, or strangely thick. Nobody wants to eat a bowl of frozen protein powder.
That is where the Ninja Creami changes everything.
The machine transforms a frozen protein mixture into something surprisingly smooth and creamy. With the right balance of milk, protein powder, and a few simple ingredients, you can create a dessert that tastes rich and indulgent without needing a complicated recipe.
I love this recipe because it is flexible too. You can make it vanilla, chocolate, strawberry, peanut butter, cookies and cream, or almost any flavor you are craving. Once you understand the basic method, you can have fun experimenting in your own kitchen.
So, if you have been looking for a creamy frozen dessert that is easy to customize and genuinely enjoyable to eat, this recipe is for you.
What Is the Ninja Creami Protein Ice Cream Recipe?
The Ninja Creami Protein Ice Cream Recipe is a homemade frozen dessert made by combining a protein-rich liquid base, freezing it solid, and then processing it in a Ninja Creami machine.
Unlike traditional ice cream, this recipe does not require cooking an egg custard or churning a mixture for a long time. The process is wonderfully simple. You prepare your protein mixture, pour it into a Ninja Creami pint container, freeze it for at least 24 hours, and then let the machine work its magic.
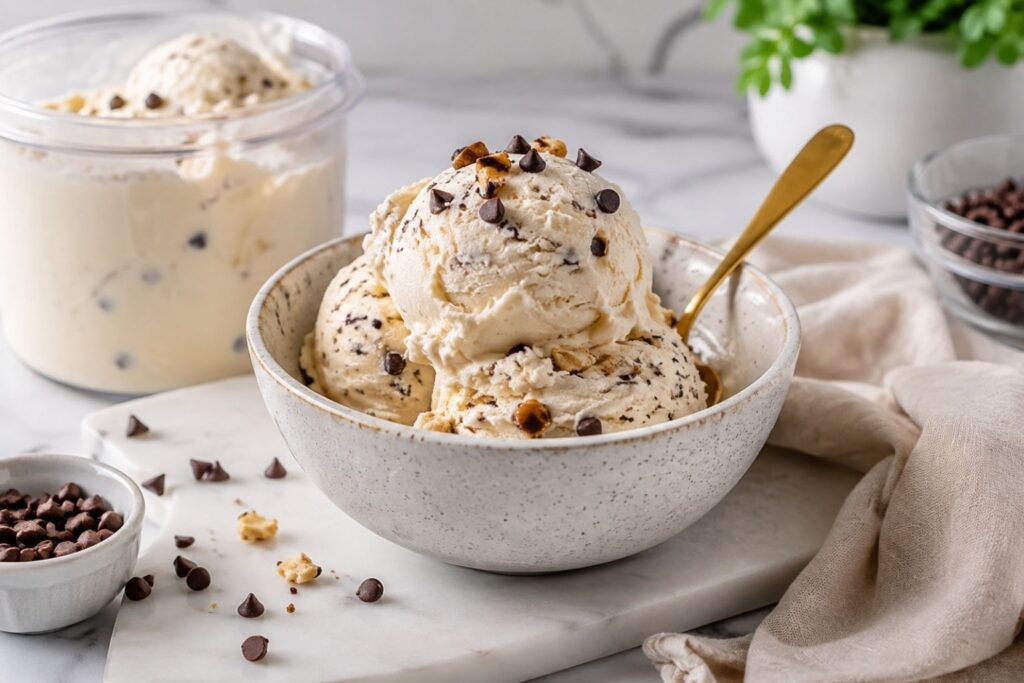
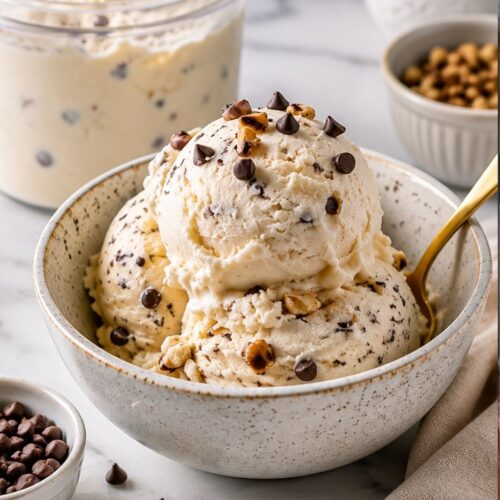
The result is a thick, creamy frozen dessert with a texture that can feel surprisingly close to regular ice cream.
Protein powder is usually the star ingredient, but the other ingredients matter just as much. Milk provides moisture and creaminess. A little sweetener balances the flavor. Pudding mix or another stabilizing ingredient can help create a softer texture. Optional additions such as Greek yogurt can make the finished ice cream richer and add even more protein.
One of my favorite things about making protein ice cream at home is that I know exactly what is going into my dessert. I can control the sweetness, choose my favorite protein powder, and create flavors that match my mood.
Some days, I want classic vanilla with fresh berries. Other days, chocolate and peanut butter sound much more exciting. That freedom is part of the fun.
Why You’ll Love This Recipe
This recipe has become a regular favorite in my kitchen for several reasons.
It is easy to prepare
The actual preparation takes only a few minutes. Most of the waiting time is simply the freezing process.
It is packed with protein
Depending on the protein powder and ingredients you use, one pint can provide a generous amount of protein.
It is easy to customize
Once you learn the basic recipe, you can create dozens of different flavors.
It has a creamy texture
The Ninja Creami is designed to transform a completely frozen base into a scoopable dessert. Even mixtures that look plain and boring before freezing can become wonderfully creamy after spinning.
It satisfies a sweet craving
Sometimes you simply want dessert. A bowl of creamy protein ice cream can feel like a proper treat instead of a compromise.
Equipment List
You do not need a kitchen full of fancy equipment for this recipe.
Ninja Creami machine
This is, of course, the most important piece of equipment. The machine processes the frozen mixture into a creamy dessert.
Ninja Creami pint container
Use the pint containers designed for your specific Ninja Creami model.
Blender or immersion blender
A blender helps combine the ingredients smoothly. You can also use a whisk, but blending often produces the smoothest base.
Measuring cups and spoons
Accurate measurements help you achieve a consistent texture.
Mixing bowl
Useful if you prefer to mix the ingredients before pouring them into the pint container.
Spoon or spatula
You will need this for scraping down the sides and adding any mix-ins.
Ingredients (With Quantities)
This recipe makes one standard Ninja Creami pint.
- 1½ cups milk – Fairlife milk, regular milk, almond milk, or another milk of your choice
- 1 scoop vanilla protein powder – approximately 30 grams
- 1 tablespoon sugar-free instant vanilla pudding mix
- 1 to 2 tablespoons sweetener, depending on your taste
- ½ teaspoon vanilla extract
- 2 tablespoons Greek yogurt, optional for extra creaminess and protein
- Pinch of salt, optional but recommended
Optional mix-ins
- Mini chocolate chips
- Crushed cookies
- Peanut butter
- Fresh berries
- Chopped nuts
- Sugar-free chocolate pieces
- Banana slices
- Coconut flakes
The beauty of this recipe is that you can adjust the ingredients according to your personal preferences. Just remember that changing the liquid-to-solid ratio can affect the final texture.
A Closer Look at the Ingredients
Protein Powder
Your protein powder has a major effect on both flavor and texture.
Whey protein often creates a lighter and smoother result. Whey and casein blends can produce a thicker texture. Plant-based protein powders can also work, although some varieties may create a slightly grainier result.
My advice? Use a protein powder that you already enjoy drinking.
This might sound obvious, but it makes a huge difference. Freezing and processing can slightly change the flavor, so starting with a protein powder you genuinely like gives you a much better chance of loving the finished dessert.
Vanilla protein powder is incredibly versatile. It works beautifully with fruit, peanut butter, cookies, cinnamon, and chocolate.
Chocolate protein powder is perfect when you want something richer and more dessert-like.
Milk
Milk provides the liquid base for the ice cream.
Higher-protein milk can add extra nutrition and create a richer texture. Regular dairy milk works beautifully too. Almond milk and other plant-based milks can be used, but the finished texture may be slightly less creamy because they usually contain less protein and fat.
If you enjoy a rich, luxurious texture, I personally prefer using a creamy dairy milk or a high-protein milk.
Instant Pudding Mix
This is one of my favorite little tricks for improving homemade protein ice cream.
Instant pudding mix contains ingredients that help thicken and stabilize the mixture. You only need a small amount, but it can make a noticeable difference in the finished texture.
Vanilla pudding mix works with almost every flavor combination. Chocolate pudding mix is excellent for chocolate-based recipes.
Sweetener
The amount of sweetener you need depends heavily on your protein powder.
Some protein powders are already quite sweet, while others need a little help. Taste the mixture before freezing and adjust it if necessary.
You can use your preferred granulated or liquid sweetener.
The key is simple: make the liquid mixture taste slightly sweeter than you think you need. Cold foods often taste less sweet after freezing.
Instructions
Step 1: Combine the Ingredients
Add the milk, protein powder, instant pudding mix, sweetener, vanilla extract, Greek yogurt, and a tiny pinch of salt to a blender.
Blend until the mixture is completely smooth.
You can also whisk the ingredients together in a bowl, but make sure the protein powder is fully dissolved. Little lumps might not seem like a big problem at first, but they can affect the texture after freezing.
Take a quick taste.
This is your chance to adjust the sweetness or add a little more vanilla.
Step 2: Pour Into the Ninja Creami Pint
Pour the mixture into your Ninja Creami pint container.
Do not fill the container above the maximum fill line.
Place the lid securely on the container.
Step 3: Freeze for at Least 24 Hours
Place the pint on a flat surface in your freezer.
Freeze it for at least 24 hours.
This step is important. The Ninja Creami is designed to process a completely frozen base. A partially frozen mixture may not produce the right results.
I know waiting can be the hardest part of the recipe. I have definitely looked at a pint after a few hours and wished it were ready already. But patience pays off here.
A fully frozen pint gives the machine the right starting point for creating that smooth, creamy texture.
Step 4: Process the Frozen Pint
Remove the frozen pint from the freezer.
Take off the storage lid and place the container into the Ninja Creami outer bowl according to your machine’s instructions.
Select the Lite Ice Cream setting.
After the first spin, check the texture.
Do not panic if the ice cream looks powdery or crumbly. This is very common, especially with lower-fat protein mixtures.
Step 5: Re-Spin If Needed
If the texture is crumbly, use the Re-Spin function.
You may need one or two additional spins depending on the ingredients you used.
If the mixture still looks very dry, add a small splash of milk, usually one tablespoon at a time, before re-spinning.
Be careful not to add too much liquid. A small amount can improve the texture dramatically.
This step is where the recipe often transforms from “Hmm, I’m not sure about this” into “Wow, that actually looks like ice cream!”
Step 6: Add Mix-Ins
If you want to add chocolate chips, cookies, nuts, or fruit, make a small hole in the center of the processed ice cream.
Add your mix-ins and use the Mix-In function.
Now your creamy protein ice cream is ready to enjoy.
Tips for the Creamiest Texture
The Ninja Creami Protein Ice Cream Recipe is simple, but a few small details can make a big difference.
Freeze the Pint Completely
Always allow enough time for the base to freeze solid.
A full 24 hours is usually the safest option.
Use a Good Protein Powder
Protein powder is not just adding nutrition here. It also affects flavor and texture.
If your protein powder tastes chalky in a shake, it may still taste chalky in ice cream.
Choose one with a flavor and texture you enjoy.
Don’t Skip the Re-Spin
This is probably the biggest lesson I learned when experimenting with the Ninja Creami.
The first spin is not always the final result.
Protein mixtures often need a second spin before they become smooth and creamy. This is completely normal.
Add Liquid Slowly
If your ice cream looks dry after processing, add only a small amount of milk.
One tablespoon can be enough.
Adding too much liquid can make the ice cream softer than you want.
Delicious Flavor Variations
Once you master the basic Ninja Creami Protein Ice Cream Recipe, you can have a lot of fun with different flavors.
Chocolate Protein Ice Cream
Replace the vanilla protein powder with chocolate protein powder.
Use chocolate instant pudding mix instead of vanilla.
For an even richer flavor, add one teaspoon of unsweetened cocoa powder.
The result is deep, chocolatey, and satisfying.
Peanut Butter Protein Ice Cream
Use vanilla or chocolate protein powder.
Add one tablespoon of powdered peanut butter or regular peanut butter to the base.
After spinning, add chopped peanuts or a small swirl of peanut butter.
This version tastes rich, nutty, and wonderfully comforting.
Strawberry Protein Ice Cream
Add a few strawberries to the base before blending.
You can also use strawberry protein powder.
The flavor is fresh, fruity, and naturally sweet. I especially love this version during warmer months.
Banana Protein Ice Cream
Add half of a ripe banana to the mixture.
Banana adds natural sweetness and helps create a softer texture.
A little cinnamon and vanilla can make this version taste almost like banana pudding.
Cookies and Cream
Use vanilla protein powder and vanilla pudding mix.
After processing the ice cream, add crushed chocolate sandwich cookies using the Mix-In setting.
This is one of those flavors that feel particularly indulgent.
Coffee Protein Ice Cream
Add a small amount of instant espresso powder to the base.
Coffee and vanilla work beautifully together, creating a flavor that reminds me of a creamy frozen latte.
For chocolate lovers, add cocoa powder too.
How to Make It More Filling
Protein ice cream can already be satisfying, but you can make it even more filling by choosing ingredients carefully.
Greek yogurt adds creaminess and protein.
High-protein milk can increase the protein content.
Nut butter adds richness and healthy fats.
Fruit can add natural sweetness and fiber.
The goal is not to make the dessert overly complicated. A few thoughtful ingredients can create a treat that keeps you satisfied longer than a bowl of regular ice cream.
Can You Make This Recipe Dairy-Free?
Yes, you can.
Use your favorite dairy-free milk and a plant-based protein powder.
For additional creaminess, you can experiment with dairy-free yogurt.
The texture may be slightly different from a dairy-based version, but the Ninja Creami can still create a delicious frozen dessert.
Coconut milk can add a particularly rich texture, although it also has a noticeable coconut flavor.
Almond milk is lighter and more neutral.
Oat milk can create a pleasant creamy texture.
Try different combinations until you find your favorite.
Common Problems and How to Fix Them
My Ice Cream Is Powdery
This is extremely common.
Use the Re-Spin function.
If needed, add one tablespoon of milk and process again.
My Ice Cream Is Too Icy
A very low-fat, high-water mixture can sometimes become icy.
Try adding Greek yogurt, a little pudding mix, or a slightly creamier milk next time.
My Ice Cream Is Too Soft
Make sure the base is frozen completely before processing.
Also, avoid adding too much extra liquid during re-spinning.
My Protein Ice Cream Tastes Chalky
The protein powder is usually the main reason.
Try a different brand or flavor that you enjoy more in regular shakes.
Adding vanilla, cocoa, fruit, or nut butter can also improve the overall flavor.
What to Serve With Protein Ice Cream
Honestly, this dessert is delicious all by itself.
But if you want to dress it up a little, try serving it with:
- Fresh strawberries or blueberries
- Sliced bananas
- A drizzle of peanut butter
- A few chocolate chips
- Crushed cookies
- Granola
- Chopped almonds or pecans
- Coconut flakes
You can make your bowl as simple or as fancy as you like.
Sometimes I enjoy mine straight from the pint with nothing added. Other times, I build a whole little dessert bowl with fruit and toppings.
Both are perfectly acceptable in my kitchen.
Make-Ahead Tips
This recipe is perfect for meal prep.
Since the base needs to freeze anyway, you can prepare several Ninja Creami pints at the same time.
For example, you could make:
- Vanilla berry
- Chocolate peanut butter
- Strawberry
- Cookies and cream
Freeze all the pints and process whichever flavor you feel like eating.
This is especially helpful when you know you will have a busy week.
Having a few prepared pints waiting in the freezer makes homemade dessert feel incredibly convenient.
Storage Tips
The unprocessed frozen base can stay in the freezer until you are ready to use it.
If you have leftover processed ice cream, you can place the lid back on the pint and freeze it again.
However, the texture may become firm after refreezing.
When you are ready to eat it again, simply process or re-spin it according to your Ninja Creami model’s instructions.
Why This Recipe Works So Well
The magic of this recipe comes from the balance between protein, liquid, sweetness, and texture-supporting ingredients.
Protein powder gives the dessert its protein content and flavor.
Milk provides moisture.
Greek yogurt can create extra richness.
Pudding mix helps the mixture become smoother and thicker.
The Ninja Creami then processes the completely frozen mixture into tiny, smooth particles that create that creamy ice cream texture.
It is a simple concept, but the result can feel surprisingly special.
I think that is why I enjoy this recipe so much. It takes ordinary ingredients and turns them into something that feels like a real dessert experience.
Frequently Asked Questions
Do I need to use pudding mix?
No, but it can improve the texture.
You can experiment without it, although the finished ice cream may be slightly icier depending on the other ingredients.
Can I use water instead of milk?
You can, but milk usually produces a creamier and more flavorful result.
Can I use collagen instead of protein powder?
You can experiment with it, but collagen may not behave exactly like whey or plant-based protein powder.
How much protein does this recipe contain?
That depends on the ingredients you choose.
Check the nutrition labels on your protein powder, milk, yogurt, and other additions to calculate the final amount.
Can I add fruit directly to the base?
Yes. Blend soft fruit such as strawberries or bananas into the mixture before freezing.
Final Thoughts
This Ninja Creami Protein Ice Cream Recipe is proof that a high-protein dessert does not have to feel boring or like a compromise.
With a few simple ingredients and a little freezer time, you can create a creamy treat that fits beautifully into everyday life. The best part is how easily you can make it your own.
Maybe you love rich chocolate flavors. Maybe fresh strawberries are more your style. Perhaps peanut butter and banana are your ultimate combination.
There is room for all of it.
As someone who loves spending time in the kitchen and experimenting with recipes, I genuinely enjoy finding simple ways to make everyday ingredients feel exciting. This protein ice cream is exactly that kind of recipe. It is easy, flexible, creamy, and fun to customize.
So go ahead and prepare a few pints. Freeze them overnight, choose your favorite flavor, and let your Ninja Creami do the hard work.
One spoonful of creamy, cold, sweet protein ice cream might be all it takes to make this recipe a regular part of your dessert routine.
More Delicious Recipes
- https://foodnesty.com/blueberry-oats-birthday-cake-for-dogs/
- Philly Cheesesteak Recipe https://foodnesty.com/philly-cheesesteak-recipe/
- Lemon Pepper Chicken Breast
Ninja Creami Protein Ice Cream Recipe
Equipment
- This is, of course, the most important piece of equipment. The machine processes the frozen mixture into a creamy dessert.
- Use the pint containers designed for your specific Ninja Creami model.
- A blender helps combine the ingredients smoothly. You can also use a whisk, but blending often produces the smoothest base.
- Accurate measurements help you achieve a consistent texture.
- Useful if you prefer to mix the ingredients before pouring them into the pint container.
- You will need this for scraping down the sides and adding any mix-ins.
Ingredients
- 1½ cups milk – Fairlife milk regular milk, almond milk, or another milk of your choice
- 1 scoop vanilla protein powder – approximately 30 grams
- 1 tablespoon sugar-free instant vanilla pudding mix
- 1 to 2 tablespoons sweetener depending on your taste
- ½ teaspoon vanilla extract
- 2 tablespoons Greek yogurt optional for extra creaminess and protein
- Pinch of salt optional but recommended
Optional mix-ins
Mini chocolate chips
Crushed cookies
Peanut butter
Fresh berries
Chopped nuts
Sugar-free chocolate pieces
Banana slices
Coconut flakes
- The beauty of this recipe is that you can adjust the ingredients according to your personal preferences. Just remember that changing the liquid-to-solid ratio can affect the final texture.
- A Closer Look at the Ingredients
Protein Powder
- Your protein powder has a major effect on both flavor and texture.
- Whey protein often creates a lighter and smoother result. Whey and casein blends can produce a thicker texture. Plant-based protein powders can also work although some varieties may create a slightly grainier result.
- My advice? Use a protein powder that you already enjoy drinking.
- This might sound obvious but it makes a huge difference. Freezing and processing can slightly change the flavor, so starting with a protein powder you genuinely like gives you a much better chance of loving the finished dessert.
- Vanilla protein powder is incredibly versatile. It works beautifully with fruit peanut butter, cookies, cinnamon, and chocolate.
- Chocolate protein powder is perfect when you want something richer and more dessert-like.
Milk
- Milk provides the liquid base for the ice cream.
- Higher-protein milk can add extra nutrition and create a richer texture. Regular dairy milk works beautifully too. Almond milk and other plant-based milks can be used but the finished texture may be slightly less creamy because they usually contain less protein and fat.
- If you enjoy a rich luxurious texture, I personally prefer using a creamy dairy milk or a high-protein milk.
Instant Pudding Mix
- This is one of my favorite little tricks for improving homemade protein ice cream.
- Instant pudding mix contains ingredients that help thicken and stabilize the mixture. You only need a small amount but it can make a noticeable difference in the finished texture.
- Vanilla pudding mix works with almost every flavor combination. Chocolate pudding mix is excellent for chocolate-based recipes.
Sweetener
- The amount of sweetener you need depends heavily on your protein powder.
- Some protein powders are already quite sweet while others need a little help. Taste the mixture before freezing and adjust it if necessary.
- You can use your preferred granulated or liquid sweetener.
- The key is simple: make the liquid mixture taste slightly sweeter than you think you need. Cold foods often taste less sweet after freezing.
Instructions
Step 1: Combine the Ingredients
- Add the milk, protein powder, instant pudding mix, sweetener, vanilla extract, Greek yogurt, and a tiny pinch of salt to a blender.
- Blend until the mixture is completely smooth.
- You can also whisk the ingredients together in a bowl, but make sure the protein powder is fully dissolved. Little lumps might not seem like a big problem at first, but they can affect the texture after freezing.
- Take a quick taste.
- This is your chance to adjust the sweetness or add a little more vanilla.
Step 2: Pour Into the Ninja Creami Pint
- Pour the mixture into your Ninja Creami pint container.
- Do not fill the container above the maximum fill line.
- Place the lid securely on the container.
Step 3: Freeze for at Least 24 Hours
- Place the pint on a flat surface in your freezer.
- Freeze it for at least 24 hours.
- This step is important. The Ninja Creami is designed to process a completely frozen base. A partially frozen mixture may not produce the right results.
- I know waiting can be the hardest part of the recipe. I have definitely looked at a pint after a few hours and wished it were ready already. But patience pays off here.
- A fully frozen pint gives the machine the right starting point for creating that smooth, creamy texture.
Step 4: Process the Frozen Pint
- Remove the frozen pint from the freezer.
- Take off the storage lid and place the container into the Ninja Creami outer bowl according to your machine’s instructions.
- Select the Lite Ice Cream setting.
- After the first spin, check the texture.
- Do not panic if the ice cream looks powdery or crumbly. This is very common, especially with lower-fat protein mixtures.
Step 5: Re-Spin If Needed
- If the texture is crumbly, use the Re-Spin function.
- You may need one or two additional spins depending on the ingredients you used.
- If the mixture still looks very dry, add a small splash of milk, usually one tablespoon at a time, before re-spinning.
- Be careful not to add too much liquid. A small amount can improve the texture dramatically.
- This step is where the recipe often transforms from “Hmm, I’m not sure about this” into “Wow, that actually looks like ice cream!”
Step 6: Add Mix-Ins
- If you want to add chocolate chips, cookies, nuts, or fruit, make a small hole in the center of the processed ice cream.
- Add your mix-ins and use the Mix-In function.
- Now your creamy protein ice cream is ready to enjoy.

Sarah Miller is a home cook and recipe developer at Foodnesty. She loves creating simple, comforting, and family-friendly recipes using easy ingredients. Her goal is to help everyone cook delicious food with confidence.